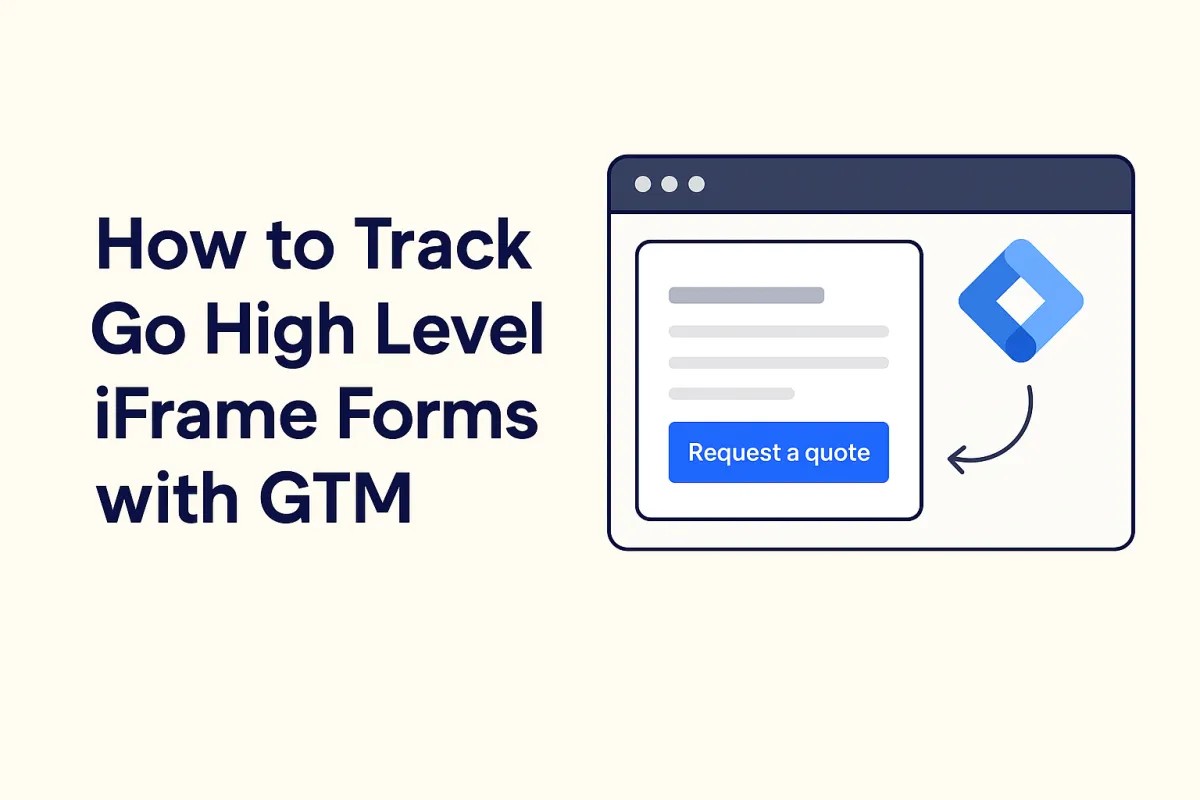
How to track Go High Level iFrame forms with GTM
How to track Go High Level iFrame forms with GTM
Are you stuck trying to track embedded iFrame forms created in Go High Level (GHL)? You’re not alone - standard tracking methods fall short here. But fear not, there’s a way around it, and I’ll show you how in this guide.
As the GHL platform grows in popularity, it’s becoming increasingly common to see GHL forms embedded on websites for clients around the world.
You can easily identify a GHL iFrame form by checking the src attribute of the iFrame element, which will contain api.leadconnectorhq.com.

In this guide, we’ll walk through how to track Google Analytics 4 (GA4) events for embedded GHL iFrames, regardless of the platform your (or your client’s) website is built on, using a real-world example from a business that sells physical products.
By the end of this guide, you’ll learn how to:
track custom GA4 events for embedded iFrame forms created in GHL, using Google Tag Manager (GTM)
ensure tracking respects visitor consent and implement Google Consent Mode v2 using Cooki.fi
If you’d rather skip the hassle and let me handle it for you, click here to hire me.
How to track Go High Level iFrame forms with GTM
Tracking structure & key terms
Step 1: Prepare your parent frame GTM container
Step 2: Create your child frame GTM container
Step 4: Track the event on the child GTM container
Business context
Before we dive in, here’s a quick look at the business setup:
the business sells high-performance watersports towboats
the typical customer journey looks like this:

In this guide, we'll focus on tracking:
Request quote (iFrame) form submission (request_quote_form_submit GA4 event)
What you’ll need
This guide assumes that:
you already have your GTM container and GA4 property set up
you’re familiar with navigating GTM and GA4
you have access to and can edit the GHL form (this is essential!)
(optional) you have a Cooki.fi property (or other CMP compatible with GHL) set up, if you need consent-based tracking (required for EEA websites) and Google Consent Mode v2
Tracking structure & key terms
Let’s start with a bit of theory.
Frame
A frame refers to a website. In this context:
Your (or your client’s) website is called the parent frame.
The GHL form is technically a standalone website (with its own URL). When embedded into the main website, it becomes a child frame.

The issue?
Frames from different origins (domains) can’t directly communicate with each other due to browser security restrictions.
So, to track iFrame forms created in GHL, we’ll need two GTM containers - one for each frame.

Parent Frame GTM Container
This is the container on your main website. It sends events directly to GA4 and houses your existing tracking setup. If you already have this container configured, no additional setup is needed here.
Child Frame GTM Container
This container is used to capture events happening inside the iFrame (the GHL form). Ideally, it’s created within a separate GTM account. Once an event is captured, it’s securely passed to the parent frame container using the postMessage() method, which safely enables cross-origin communication between the frames.

Once the parent frame GTM container receives these events, it can forward them to GA4, since the events now originate from the same domain as your main website.

Step 1: Prepare your parent frame GTM container
If you already have GA4 tracking (Google Tag) configured, you can skip this step.
Constant variables
Let’s start by creating constant variables in your main GTM container - these will save you time and reduce errors by storing values you’ll reuse throughout your setup.
A good rule of thumb: anything that doesn’t change (like IDs) should be stored as a constant variable.
GA4 Measurement ID
Navigate to your GA4 data stream and copy your measurement ID.
In GTM, create a Constant variable and paste your measurement ID:

I like to name this variable like so:
C - GA4 - Measurement ID - XXXX
(C stands for Constant, followed by tool name and last 4 digits for easy reference)
Google Tag
Next, we’ll create the main Google Tag (formerly known as the configuration tag).
This initialises the GA4 library and automatically tracks the basic page_view event.
In GTM:
Create a new tag: Google Analytics > Google Tag
Under Tag ID, insert the measurement ID variable you just created.
For the trigger, choose Initialization - All Pages. This ensures the Google Tag fires before any other GA4 event tag.

Name and save the tag.
Publish the container and test to confirm the tag is firing correctly and the page_view event gets sent to your GA4 property.
If Enhanced Measurement is enabled in GA4, you may also see additional events like scroll.
Step 2: Create your child frame GTM container
Ideally, create a new GTM account dedicated to your child frame.
In your new GTM account, create a container and name it something like <YourWebsiteName> - iFrames.
Click on your newly created container ID to access the installation code and copy the <head> portion of the provided GTM installation script (you’ll use this code in the next step):

Step 3: Modify your GHL form
Now, let’s install the GTM container in your GHL form.
In GHL:
Navigate to Sites > Forms and open the relevant form.
Inside the form editor, click Add Form Element > Customized > Html:

Drag the HTML element to the very top of the form:

Click on The Custom HTML goes here > Edit HTML and paste your child frame GTM container installation code you copied earlier:

Click Yes, Save and then save the entire form.
Click Preview and ensure the child frame GTM container loads properly.
Once this is complete, your child frame (the GHL form) is now equipped with its own GTM container, allowing you to track events within the form as you would in any standalone site.
Step 4: Track the event on the child GTM container
Form settings
Before setting up tracking, we need to determine how the form behaves after submission. This can vary:
Some forms redirect to a different URL
Some display a confirmation message
Others emit a custom event that can be detected (“listened to”) with code
For a deeper dive into general form tracking strategies, check out this superb guide from Analytics Mania.
In GHL, there are three post-submission options:
Open URL
Message
Order Confirmation
To confirm which option your form uses:
In the GHL form editor, click Styles & Options:

Click Options > ON SUBMIT:

By default, GHL forms use ‘Message’, so we’ll use that for this guide.
Trigger
Now that we know the form shows a confirmation message, let’s create a trigger based on this.
Click Preview inside the form editor in GHL:

Copy the form’s URL:

Open your child frame GTM container, click Preview, and enter the copied URL:

With the GTM’s Preview Mode open, submit the form and wait for the confirmation message to appear:

Right-click on the confirmation message and choose Inspect:

You’ll notice a <div> element above the confirmation message containing a class called thank-you-message. We can use this for the trigger.
Since there’s no page reload, create an Element Visibility trigger:
Selection Method: CSS Selector
Element Selector: .thank-you-message (don’t omit the dot!)
When to fire this trigger: once per page
Observe DOM changes: enabled

Name and save the trigger.
Tag
Create a new Custom HTML tag.
Insert the following code.

Make sure to replace ‘https://yourParentFrame.com’ with your actual parent frame domain (the main website where the form is embedded).
Assign the Element Visibility trigger you just created.
Name and save the tag.
Now, the child frame GTM container will send a message to the parent frame whenever the form submission occurs, using postMessage().
Step 5: Capture the event on the parent GTM container
Now that the child frame is sending the messages, we need the parent frame GTM container (on your main website) to listen for these messages, push them to the data layer, and then use a Custom Event Trigger to capture them.
In GTM:
Create a new Custom HTML tag.
Insert the following code into it.
Set the trigger for this tag to All Pages:

If you now open your parent frame (main website) using GTM’s Preview Mode and submit the form, you should see the requestQuoteFormSubmit event coming through the data layer.
Step 6: Send the event to GA4
Now that the listener is capturing the form submission and pushing it to the data layer, the final step is to configure the trigger and tag to send the event to GA4.
Trigger
In your parent frame GTM container:
Create a new Custom Event trigger with requestQuoteFormSubmit as the event name:

Name and save the trigger.
Tag
Next, create the GA4 event tag:
Tags > New > Google Analytics > Google Analytics: GA4 Event.
For Measurement ID, use your constant variable or manually paste your measurement ID directly.
For the event name, you can use GA4's recommended event: form_submit, or, if you want to be more specific, you could use something like request_quote_form_submit.
Assign the Custom Event trigger you just created:

Name and save the tag.
Test submitting the Request a quote form on your parent website in Preview Mode to verify tracking works as expected.
Optional (but recommended):
To indicate this is an important event and to unlock some special pre-made reports, you can consider marking the event as a key event in GA4.
Step 7: consent-based tracking
So far, our setup doesn’t respect user consent preferences.
Let’s fix that.
Configure Cooki.fi (or other CMP)
Make sure your CMP property has Google Consent Mode enabled:

In Cooki.fi, Google Consent Mode integration (including the latest Consent Mode v2) is enabled by default.
Furthermore, ensure your cookie banner is visible on your website:

Enable consent overview in GTM
In your parent GTM container:
Go to Admin > Container Settings > check Enable consent overview
Click Save.
You’ll now see a shield (Consent Overview) icon above your tags:

Configure consent requirements
Click the Consent Overview shield icon to view tags grouped into:
Consent Not Configured (currently all tags)
Consent Configured
Select your GA4 tags and click the shield icon in the upper right corner.
In the pop up, click Require additional consent for tag to fire > Add required consent. Add analytics_storage and click Save:

The GA4 tags now move to the Consent Configured category.
Repeat the same process for the Custom HTML listener tag we created (the one that listens for postMessage), but select No additional consent required, as this tag doesn't send data to external platforms.
Modify triggers
As a last step, we need to adjust our triggers to respect consent decisions.
For the Google Tag (configuration tag):
Replace its Initialisation - All pages trigger with a new Custom Event trigger (Event name: cookifi-consent-update):

This custom event fires on every page load after the visitor has made their consent choice, so it can be safely used for tags that need to fire on all pages.
For the request_quote_form_submit GA4 tag, no changes to the trigger are needed. By the time this event is triggered, Cookifi will have already sent the consent update, so the tag will either fire or be blocked based on the user’s consent.
If you’re looking for a reliable, freelancer-focused CMP that’s easy to integrate with GTM, check out Cooki.fi - we’re currently offering special deals for early adopters.
CAUTION
If you’re using a different CMP, make sure to verify the consent update fires in a timely manner, Otherwise, your tags will default to the denied state, impacting your ad performance and data collection.
For a deeper dive into consent-based tracking, check out the Cooki.fi documentation.
If this feels too technical or time-consuming, or if you’d prefer to have an expert handle it for you, feel free to get in touch with me here.
